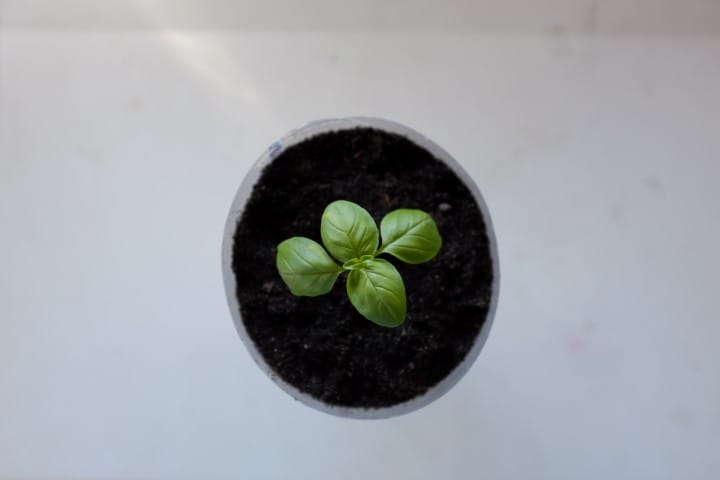
DIY Simple Hydroponic Soda Bottle
Filed under: garden

This DIY project is a ridiculously easy way to get started in hydroponic gardening. It’s also extremely useful if you plan on going away for long periods of time and want your plants to live. The base of the soda bottle acts like a water reservoir that plants can feed on as required!
Equipment
- 2L Soda Bottle
- Sharp knife
- Old piece of clothing or rag
- Potting mix
- Plant (for me a basil)
Step 1: Make a cut at roughly the center of the bottle

Depending on the shape of the bottle, you want to make a cut on the flat section where there is no taper. This means you’ll have a nice snug fit between the two pieces and mitigate the evaporation of water from your reservoir.

Once you’ve cut you should have two similar size pieces like this.
Step 2: Pull your rag through the opening

I left my rag long and pulled it through the opening of the bottle. I think this would be an easier way to get it correctly sized first.

Then I made the cut. You don’t want the rag to extend too far into the actual ‘pot’ section of the soda bottle. Leave it about halfway up or enough room to transfer your plant. Leave enough rag hanging outside of the bottle so that it will reach the bottom of the reservoir. It should look something like this:

Step 3: Transplant your plant
When adding the soil you might need to hold up the rag and spread the soil around the outside first to prevent it from getting pushed straight to the bottom. After it has enough support you can add the plant.

It should look something like this:

Now you have a simple DIY hydroponic system. I guess it’s a bit of a cheat calling it a hydroponic, but the effect is the plant draws the water up when it needs from the reservoir. It’s a great system that leaves you with very little maintenance on your plants. Perfect for those that regularly travel or are away from home often.